
How to Replace a Damaged Garage Door Section Without Replacing the Entire Door
- COMMERCIAL GARAGE DOOR REPAIR
- GARAGE DOOR OPENER INSTALLATION
- GARAGE DOOR SPRING REPAIR
- SAME-DAY GARAGE DOOR REPAIR
- CUSTOM GARAGE DOOR
- GARAGE DOOR OPENER REPAIR
- GARAGE DOOR TRACK REPAIR
- GARAGE DOOR CABLE REPAIR
- GARAGE DOOR PANEL REPAIR
- LOCAL GARAGE DOOR REPAIR
- GARAGE DOOR REPLACEMENT
- NOISY GARAGE DOOR FIX
- GATE REPAIR
- GARAGE DOOR INSTALLATION
- GARAGE DOOR SECTION REPLACEMENT
- OVERHEAD GARAGE DOOR REPAIR
How to Replace a Damaged Garage Door Section Without Replacing the Entire Door
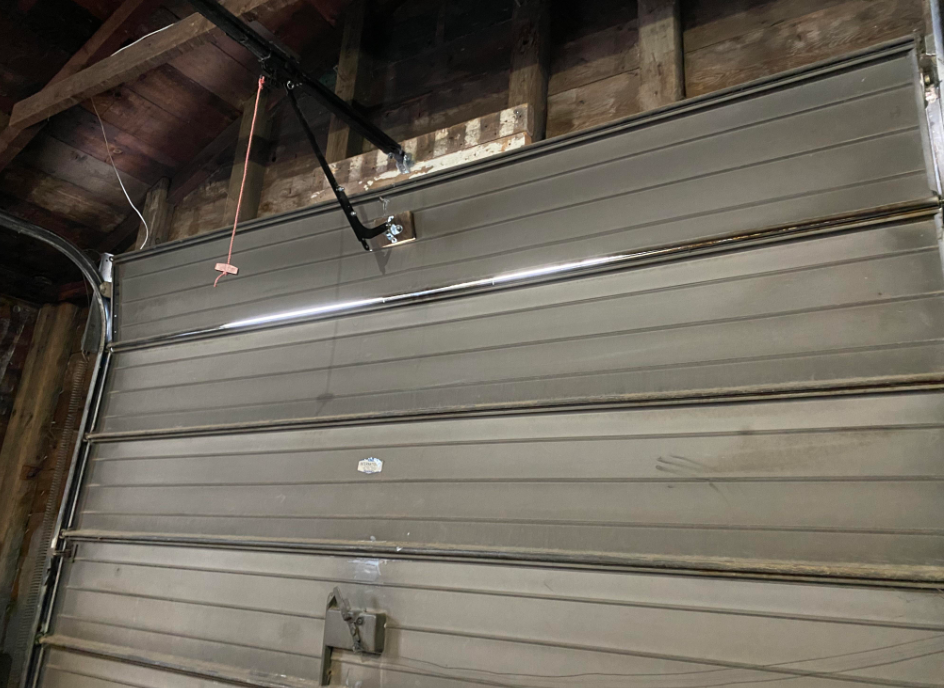
Is your garage door looking worse for wear because of a damaged section? The good news is you don’t always have to replace the entire door. If only one section is damaged, fixing just that part can save you time and money. Let’s walk through how you can garage door section replacement step by step.
Why Replace a Garage Door Section?
Garage doors face wear and tear from daily use, weather, and accidents. Whether it’s a dent from your car or damage from a storm, a damaged garage door section can affect the look and functionality of your door. Replacing only the damaged section is often more budget-friendly and efficient than getting a whole new door. Plus, it keeps the rest of your garage door intact.
What You’ll Need to Get Started
Before you roll up your sleeves, gather the following tools and materials for the job:
- Replacement garage door section (make sure it matches your current model)
- Screwdriver or power drill
- Wrench set
- Safety gloves and protective glasses
- Stepladder
- Helper (trust me, you’ll need an extra set of hands)
How to Replace the Garage Door Section
Step 1: Identify the Damage and Get a Replacement
Inspect your garage door carefully. Measure the damaged section and note the manufacturer, style, and material of your door. Contact your garage door provider or a local dealer to order the matching replacement panel. Getting the exact match is crucial to maintain the door’s look and function.
Step 2: Remove the Damaged Section
Before you start, unplug your garage door opener to avoid accidents. Use a stepladder to reach the damaged section. Begin unscrewing the bolts or screws that secure the section to the surrounding panels. This step might require loosening some of the other sections to make space for the replacement. Be sure to follow safety precautions as panels can be heavy.
Step 3: Install the New Section
With the damaged section removed, align the replacement section in its place. Secure it with screws or bolts, ensuring it’s tightly fastened. If you had to loosen other sections, reattach and tighten them as well. Once everything is in place, gently test the garage door to ensure it opens and closes smoothly.
Bonus Tip for Longevity
Now that your garage door looks good as new, apply some lubricant to the hinges and other moving parts. Regular maintenance can help prevent further damage and keep your door in top condition.
When to Call in a Professional
If your garage door section replacement feels too complex or unsafe, don’t hesitate to call in a professional. They can ensure the job is done quickly and properly while avoiding risks.
Replacing a garage door section is an excellent way to extend its life without breaking the bank. With the right tools and careful attention, your garage door can look as good as new in no time! Mariner Garage Door Repair is here to help with all your garage door needs.